top of page
STORE
CONTENT
COURSES
COMMUNITY
SUPPORT
CONTACT
More
Use tab to navigate through the menu items.
STORE
CONTENT
COURSES
COMMUNITY
SUPPORT
CONTACT
More
Use tab to navigate through the menu items.
Check out our new store!
Shop
FILMS
SCIENCE APPLIED
World's Hardest World Record - Full Documentary of Lapporten, Sweden 2.1km Long Highline
Iceland Ice Stunts
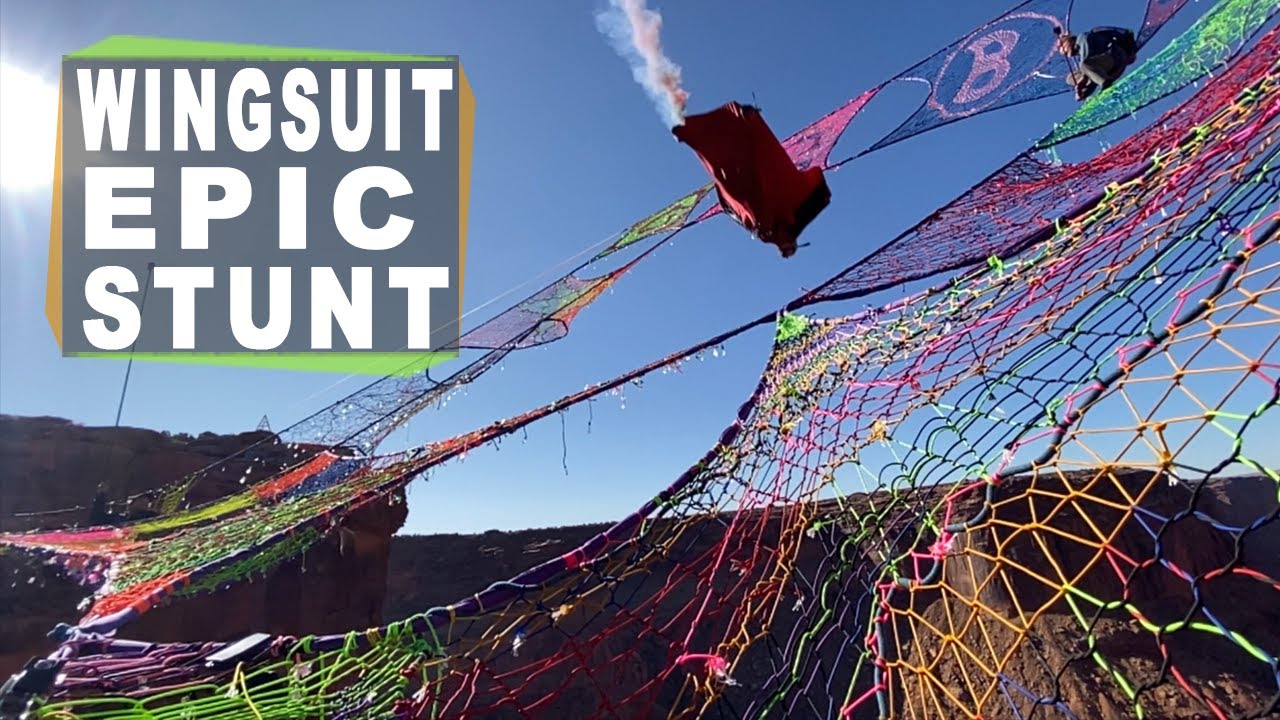
Epic Wingsuit Stunt Wins Go Pro 2020 Challenge Award
I spent 62 HOURS exploring a 400 foot water fall inside a cave! Topless Dome Part 2 of 3
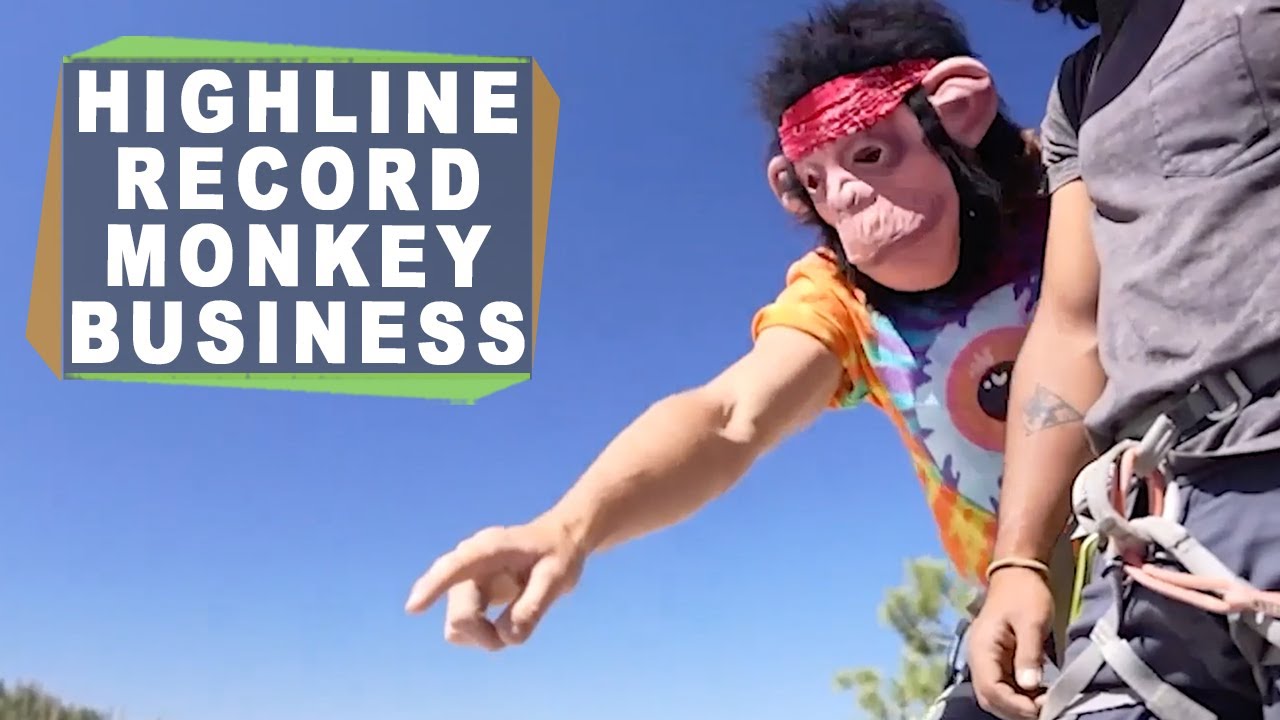
How NOT 2 Rig a California Record Highline - 861 meters / Half Mile
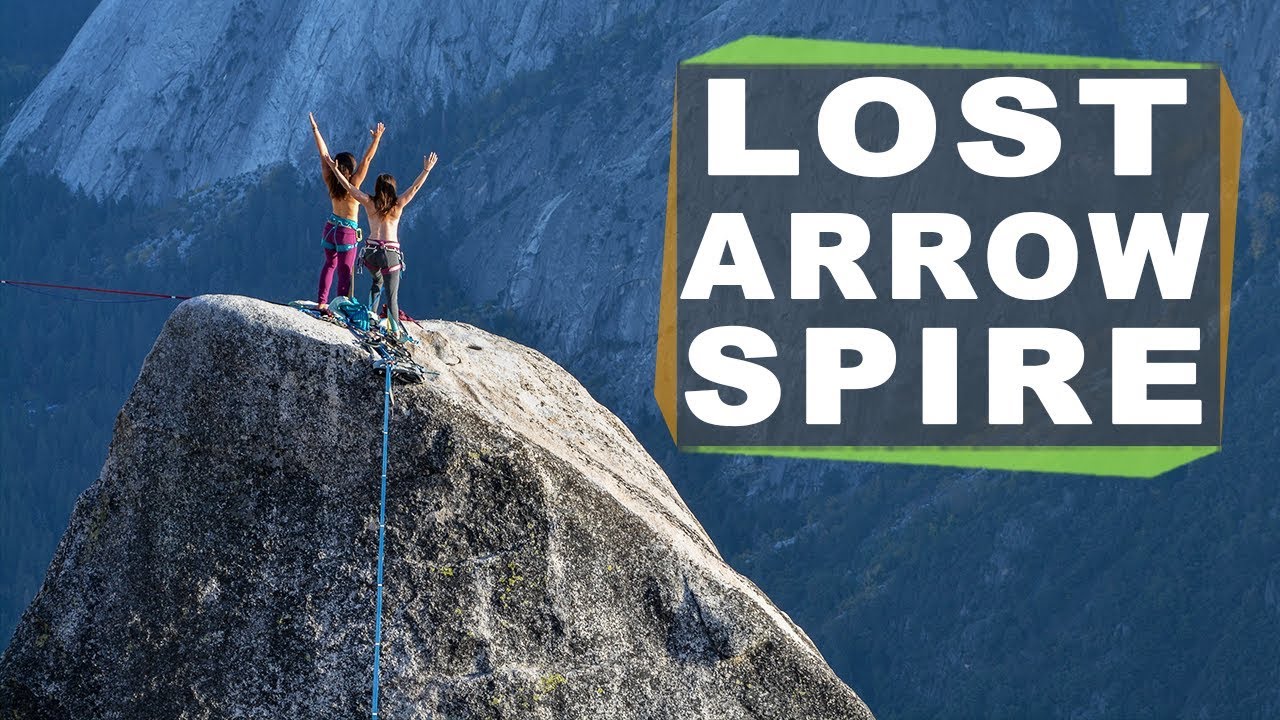
Lost Arrow Spire in Yosemite National Park - Climb and Highline, in a day, couch to couch by myself
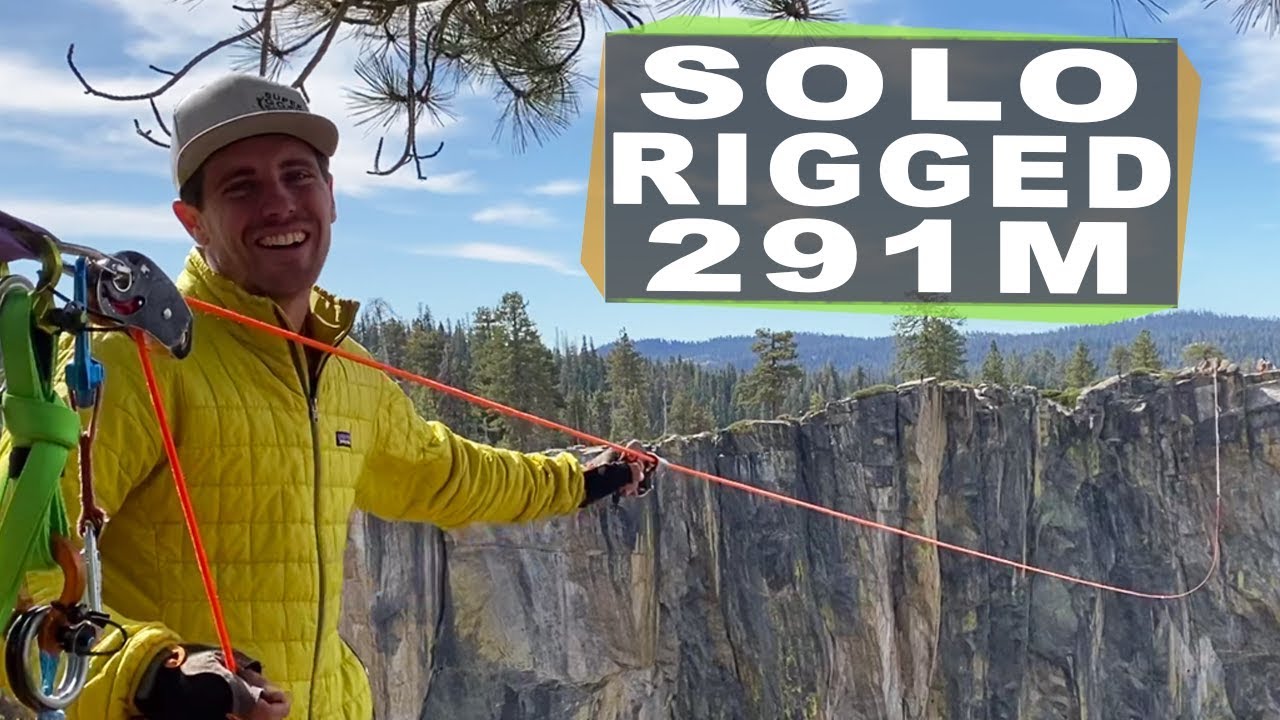
How I rigged a complex 291m highline in Yosemite BY MYSELF in 12 hours
How to rig a 2km long highline with 30 people in Asbestos Quebec Canada
NEWSLETTER
STAY UP TO DATE WITHOUT THE CLICK BAIT
CONTENT
MOST POPULAR
How Strong Are Levered Carabiners?
Shock Loading Petzl Micro Traxion
This rappel ring could kill someone
BIG climber lead falls for science. You won't believe the forces!
Do WET climbing ropes break weaker???
Guess which carabiner breaks last 👉 CARABINER SHOWDOWN
Donate
$1 from 1000 people
Makes us viable
Shop
Buy Gear
Using Our Affiliates
Merch
Wear Some Stoke
10+ Designs
SUPPORT
100% of our content is 100% Free
Free content is not
free to make
COURSES
A - Z Content, 100% FREE
STORE
CONTENT
COURSES
COMMUNITY
SUPPORT
CONTACT
Disclaimers
Terms of Use
Privacy Policy
FOLLOW
bottom of page